Showing posts with label tutorial. Show all posts

Monday, December 4, 2017

How to Paint Dot Mandala #004 - Christmas Ornament Special Tip Painting a Curved Surface

In this tutorial you'll learn how to paint a dot mandala on a Christmas ornament.  Use unique tools and dot painting techniques to create a colorful mandala dot painted Christmas ornament that would be perfect on an ornament stand, Christmas Tree or other home decor.  This would make a thoughtful handmade gift. 


Find great products for your projects in my shop or local craft/art stores.

Tools:

Susan Bates Crystalites 12408 Acrylic Crochet Hook Gift Set - http://amzn.to/2zFCPER

Susan Bates Crystalites 12409 Acrylic Crochet Hook Gift Set - http://amzn.to/2yAgx3W

5pc 2 Way Dotting Pen Tool Nail Art Tip Dot Paint Manicure kit - http://amzn.to/2iTQ9Ly

Paint Brushes - http://amzn.to/2yBmnSB

Paint Palette - http://amzn.to/2z0cn9z

Ruler

Compass

Spray Bottle

Water Bucket

Materials:

Glass ornament – purple matte – from local store

DecoArt Americana Acrylic Paint - http://amzn.to/2hpnZb0
(search for color on the DecoArt page)
• Peacock Pearl - http://amzn.to/2BDxEnb
• Splendid Gold - http://amzn.to/2ApKuY4
• Matte Medium - http://amzn.to/2AO3K28

General Pencil 5582BP Charcoal White Pencils 2/Pkg-2B - http://amzn.to/2idnFgp

Cotton Swabs

Water

SUBSCRIBE:

Subscribe to my Channel:  https://www.youtube.com/c/SweetWillowDesigns?sub_confirmation=1

SOCIAL MEDIA LINKS:

Facebook:
Pinterest:
Twitter: 
Blog: 

Disclosure:  All opinions are my own.  I participate in the Amazon Affiliate program. That means I receive a commission when products are purchased through links posted on my videos. (At NO additional cost to you.) This allows me to bring you more videos!  Thanks for supporting my channel and art work!

Monday, March 6, 2017

How to Use Your iPad Pro to Create a Digital Collage Artwork

Hope you enjoy this tutorial/time lapse.  Loving my new iPad Pro to create digital artwork.  Join me for a quick walk through of drawing/art apps for the iPad Pro.  You'll see how I used ProCreate and Leonardo to create a layered mixed media artwork of a bird in a tree.


Visit Sweet Willow Designs' Amazon Store for the great products I use in my studio and help me keep videos coming!  Click here to visit:
http://astore.amazon.com/sweewilldesi-20

SUBSCRIBE:

Subscribe to my Channel:  https://www.youtube.com/c/SweetWillowDesigns?sub_confirmation=1

SOCIAL MEDIA LINKS:

Facebook:
https://www.facebook.com/SweetWillowDsgn
Pinterest:
https://www.pinterest.com/SweetWillowDsgn
Twitter:
https://twitter.com/search?q=SweetWillowDsgn
Blog:
http://www.sweetwillowdesigns.blogspot.com

Disclosure:  All opinions are my own.  I participate in several affiliate programs. That means I receive a commission when products are purchased through links posted on my videos. (At NO additional cost to you.) This allows me to bring you more videos!  This is how I earn compensation by sharing tips, techniques and projects with you.  The affiliate programs I use include Simon Says Stamp, Amazon and Michaels.  These are stores I shop at for the products I use.

Friday, April 1, 2016

How to Make Elegant Polymer Clay Articulated Dangle Earrings

Hi All, thanks for joining me in my studio as we learn how to make these really elegant articulated dangle earrings from polymer clay.  These earrings measure approximately 3-1/2” and have a lot of movement.  Use your own templates or download mine (link to my blog below) for this simple project that has endless design possibilities.  Hope you enjoy.  Thanks for joining me in my studio.  Take care.


Products I used in the video:

Jewelry looping pliers – Wolf Groovy Looping Plier-3 Grooves - PLR-751.00 - http://amzn.to/1UYOaEj  These are great as they have 3 grooves for consistent loops

Texture Sheet –Judikins Clay Squisher 1960s Design - http://amzn.to/1VYAxVp  These go great through the pasta machine!

Texture Sheet - Clay Yo Texture Sheet - http://prairiecraft.com/kato/OSS/CY-TS.html
Stencil sheet – EZ Quilting 882670027 Quilter's Template Plastic Assortment, 6-Piece http://amzn.to/1M6Ishb  The quilters use these but they are so helpful for making templates for polymer clay.

Visit my Amazon store for other great products I use in my studio.

Tools
Oven
Pasta Machine
Craft Knife
Template – see links above to my blog for the template; make this from paper or stencil sheet
Jewelry pliers – round nose and chain nose

Materials
Clay – Premo Black
Texture sheets – Squishers, Kato
Ear wires – 2 ea
Eye pins – 6 ea
Acrylic paint – your choice of colors
Sandpaper
Stencil sheet (optional)

Disclosure:  All opinions are my own.  I participate in several affiliate programs. That means I receive a commission when products are purchased through links posted on my videos. (At NO additional cost to you.) This allows me to bring you more videos!  This is how I earn compensation by sharing tips, techniques and projects with you.  The affiliate programs I use include Simon Says Stamp, Amazon, and Michaels.  These are all stores I shop at for the products I use.

Saturday, March 19, 2016

How to Make Polymer Clay Fairy Door Earrings - #CACFantasyArt

Hi All, thanks for joining me in my studio.  Today' we'll make our own portal into the fairy world with the sweet polymer clay fair door earrings.  These simple earrings can be embellished any way you want by changing up the color and beads.

The legend is that these fairy doors are the portal to the fairy world and true believers can enter through these doors.  I hope you enjoy this project. See the tools and materials list below.

Kemper Klay Cutter - 3/16" 4 basic shapes - flower, teardrop, circle and heart  http://amzn.to/1MuNH4W

Visit my Amazon store as a resource for the products I use in my studio.  http://astore.amazon.com/sweewilldesi-20

Tools
Oven
Pasta Machine
Craft blade
Craft knife
Needle tools
Embossing tool
Jewelry pliers - round nose and cutters
Cutters - 3/16" heart and flower; 1" and 3/4" circle

Materials
Clay - Raw Sienna and various colors for flowers.  I use Sculpey Premo!
Paint - Burnt Sienna or other dark brown (optional)
Earring findings - 2 ea of ear wire, ear nut, eye pin and head pin
Beads - 2 ea

Facebook:
https://www.facebook.com/SweetWillowDsgn
Pinterest:
https://www.pinterest.com/SweetWillowDsgn
Twitter:
https://twitter.com/search?q=SweetWillowDsgn
Blog:
http://www.sweetwillowdesigns.blogspot.com

Disclosure:  All opinions are my own.  I participate in several affiliate programs. That means I receive a commission when products are purchased through links posted on my videos. (At NO additional cost to you.) This allows me to bring you more videos!  This is how I earn compensation by sharing tips, techniques and projects with you.  The affiliate programs I use include Simon Says Stamp, Amazon, Dick Blick and Michaels.  These are all stores I shop at for the products I use.

Saturday, January 17, 2015

Get Your Swirl On! Polymer Clay Valentine Swirl Pendant

Here's a Valentine's Day swirl pendant with a "Be Mine" sentiment and red hearts.  I'm going to be doing a series of these holiday swirl pendants so stay tuned for more!  Hope you enjoy this video tutorial.  Leave me a comment, subscribe and let me know how you enjoyed this video.  Tools and materials lists follow the video.

Tools

Pasta machine
Oven
Extruder (Optional)
Extruder die - 19 hole
Alpha stamping set
Cutter - 3/16" heart
Paintbrush - stiff
Needle tool or hand drill
Clay blade
Craft knife

Materials

Polymer clay - Premo! - small amounts of white, red and pink blend
Acrylic paint - red
Sandpaper - wet/dry 400 grit
Varnish - recommend Varathane or comparable
Jewelry findings - pinch bail or jump ring, necklace finding

Tuesday, December 30, 2014

Winter Storm Snowflake Polymer Clay Pendant

This week's winter snow storm in Colorado inspired this polymer clay pendant project. Join me in my studio as we make a swirl bead and add snowflake embellishments. I used extruded clay strands applied to a clay base to make my swirl beads. This simple technique is great alternative to using cane slices for those of us who don’t make many canes. Upcoming projects will use this basic technique for more swirl effects. Hope you enjoy this. If you enjoy the video, subscribe to my YouTube channel, give me a thumbs up or leave a comment. I’d love to hear from you. Below the video are the tools and materials used in the project. 
  Tools 
Extruder 
19 hole die 
Clay blade 
Needle tool 
Acrylic or glass block 
Jewelry pliers
  Materials 
Polymer Clay – white and 2 shades of blue 
Pearlescent powder – silver 
Jump ring 
Sandpaper – wet/dry 400 grit 
Sealer – Varathane or other

P.S. I’m always trying to improve my videos. I use Adobe Premier Pro Creative Cloud software to edit my videos and with this one I wanted to keep close to the 5 minute mark. It’s always a learning process and fun. Stuff I learned while making this video:
• How to speed up a clip
• Overlay comments on a clip
• Record audio outside the main video

Tuesday, June 24, 2014

Make Your Own Marking and Center Finder Tool - FreeTutorial

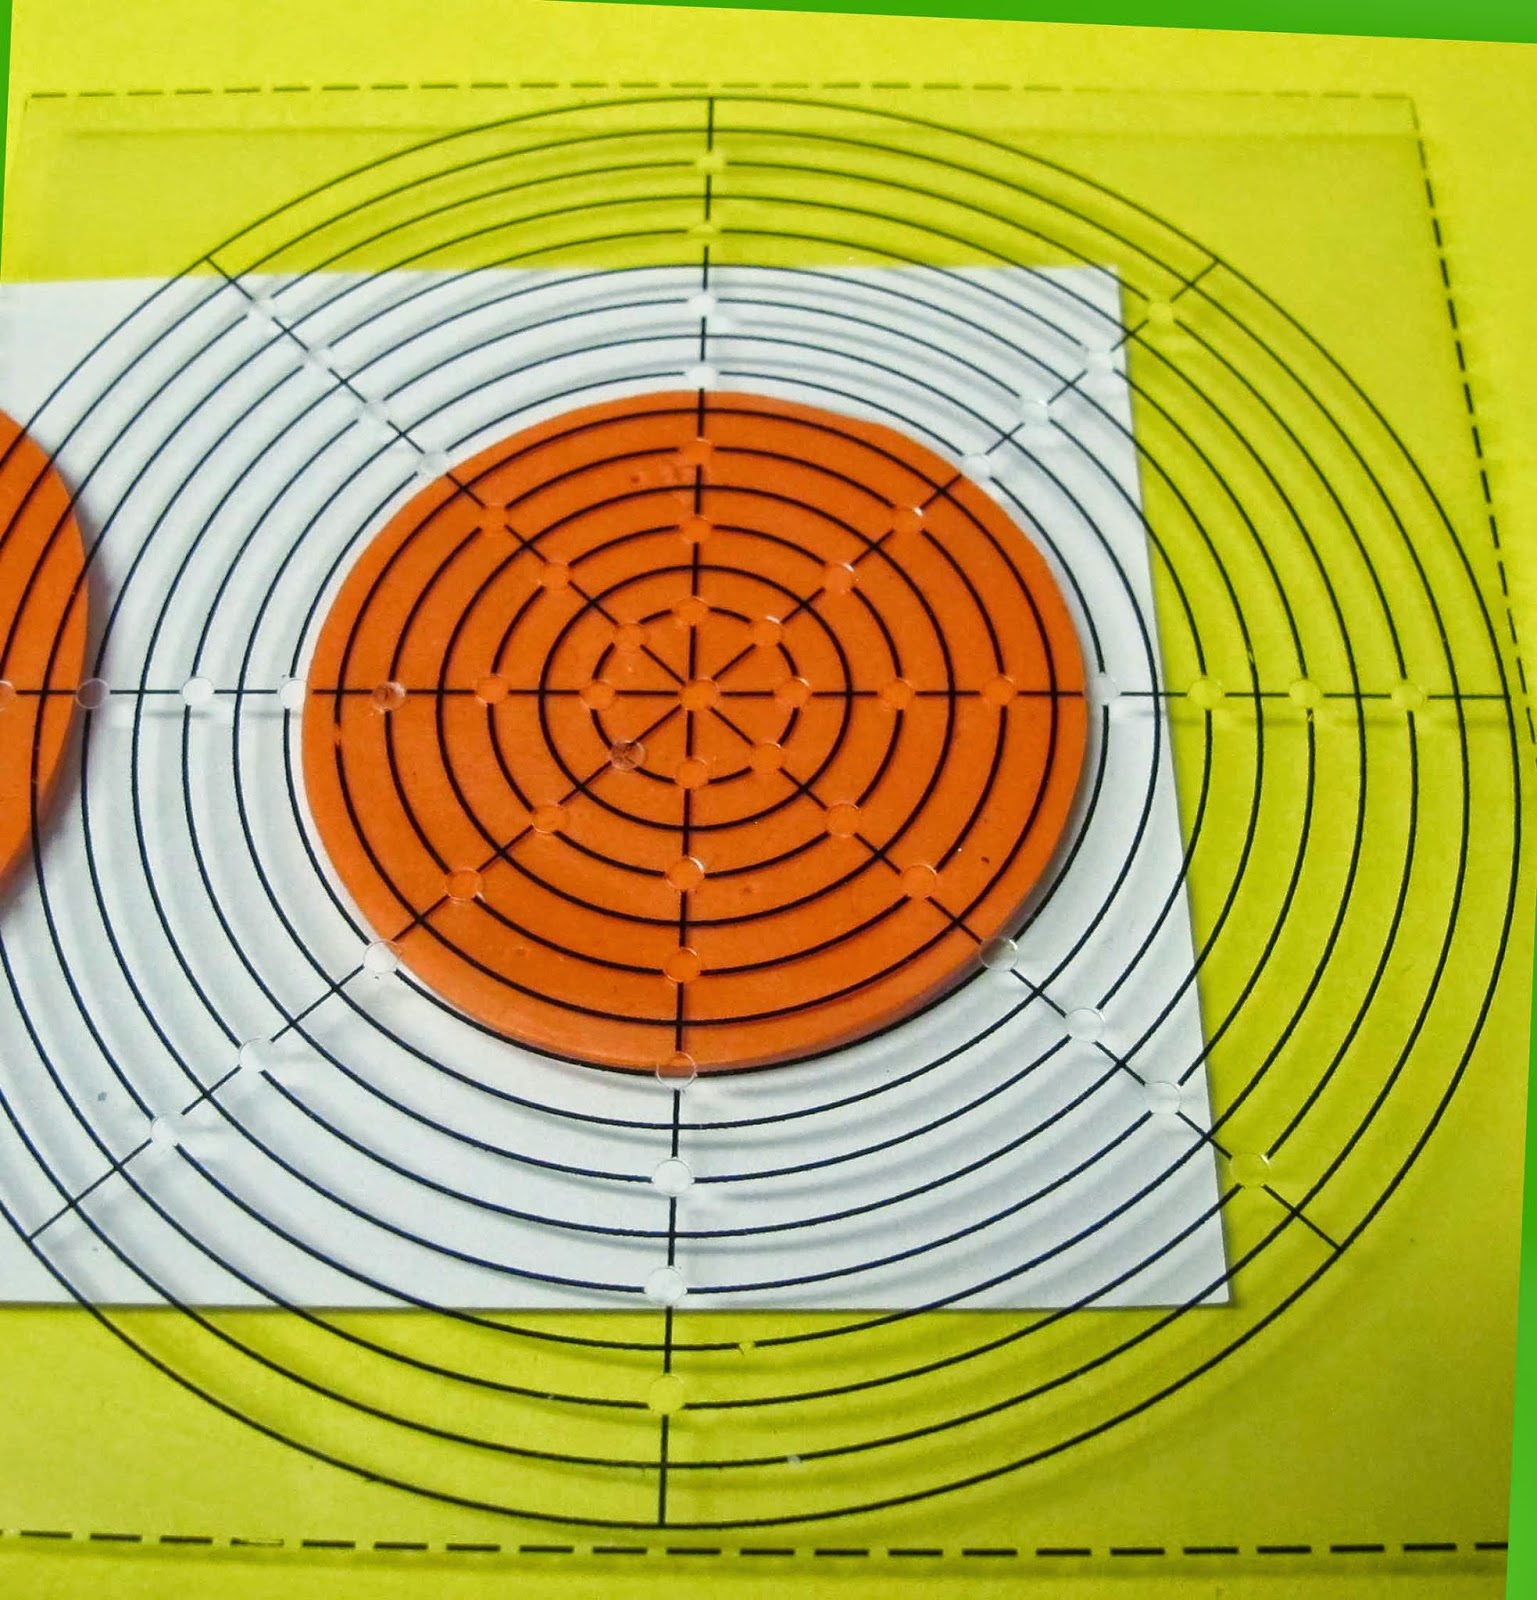
Welcome to my blog.  I've been designing jewelry that requires precise placement of embellishments or design elements and I was generally just eyeballing the placement.  I found that my placement was a bit wonky and I was somewhat disappointed in the final product because the placement of design elements was just simply off.

I went searching for a marking template that I could use to find the center of a shape and then allow equidistant marking around the shape.  Couldn't find anything that met my needs so I decided to make my own marking and center finder templates.  I thought you all might have a similar need.  I'm making this free test tutorial available for a limited time.  Here's a video and .pdf tutorial with instructions on how to make marking and center finder templates for a circle, oval, rectangle and square.  There are two overall sizes of templates - 4" and 3.5".  Each template has a 1/8" and 1/4" guide lines.  Choose the one that works for you and voila! a set of templates that you can use over and over.

Check out the video and download the .pdf  Jewelry Shape Marking and Center Finder (follow the link, click "File", then click "Download" and save the file to your computer) free tutorial available with a complete set of instructions, templates and resource list.  Leave me a comment and tell me how you liked this test tutorial.  Hope you enjoy.