
 Welcome to my blog. I've been designing jewelry that requires precise placement of embellishments or design elements and I was generally just eyeballing the placement. I found that my placement was a bit wonky and I was somewhat disappointed in the final product because the placement of design elements was just simply off.
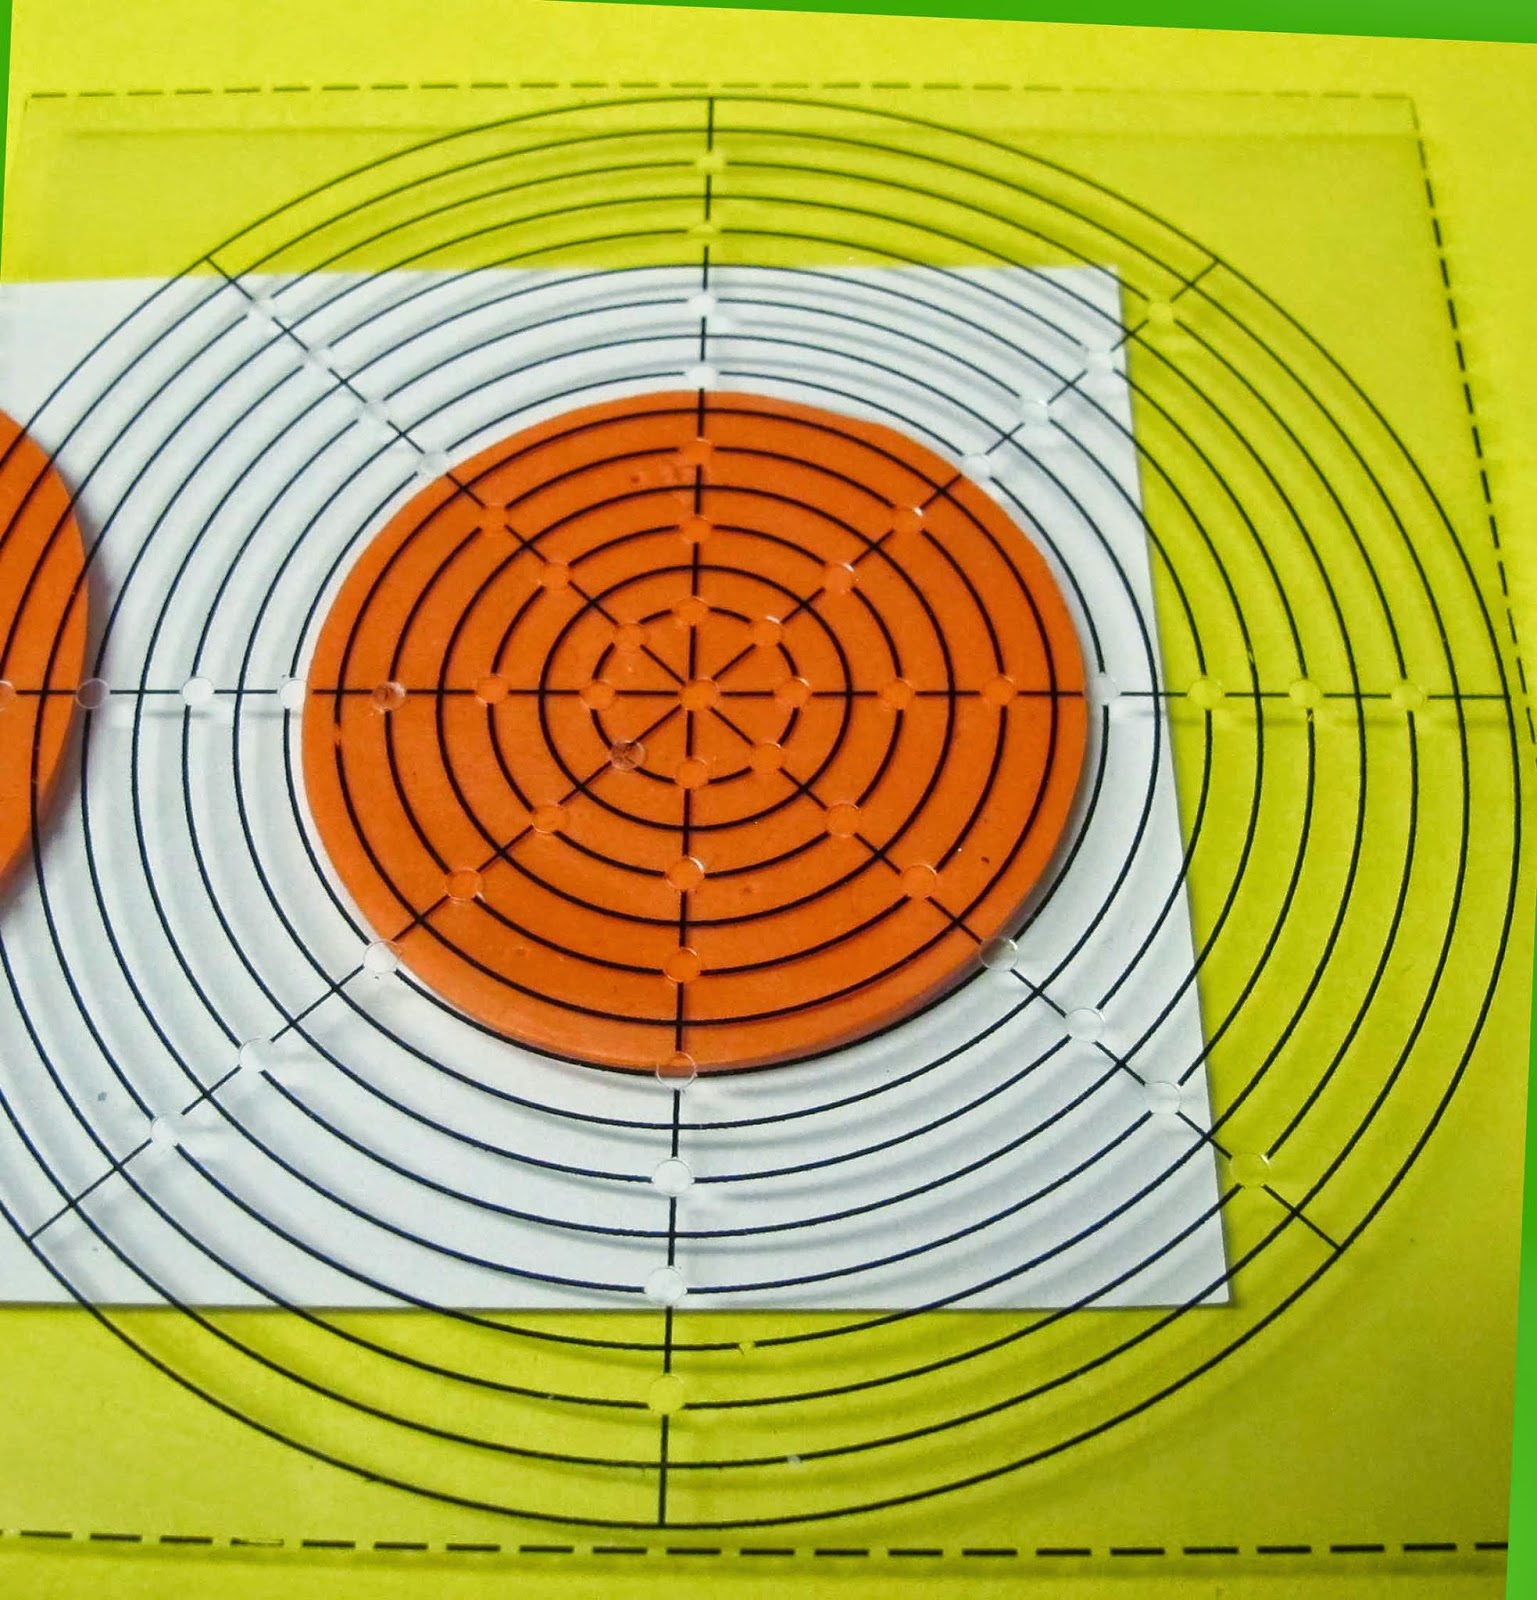
I went searching for a marking template that I could use to find the center of a shape and then allow equidistant marking around the shape. Couldn't find anything that met my needs so I decided to make my own marking and center finder templates. I thought you all might have a similar need. I'm making this free test tutorial available for a limited time. Here's a video and .pdf tutorial with instructions on how to make marking and center finder templates for a circle, oval, rectangle and square. There are two overall sizes of templates - 4" and 3.5". Each template has a 1/8" and 1/4" guide lines. Choose the one that works for you and voila! a set of templates that you can use over and over.
Check out the video and download the .pdf Jewelry Shape Marking and Center Finder (follow the link, click "File", then click "Download" and save the file to your computer) free tutorial available with a complete set of instructions, templates and resource list. Leave me a comment and tell me how you liked this test tutorial. Hope you enjoy.
This solves a number of problems for me. Thanks for making a good tutorial!l
ReplyDeleteSher, I'm glad you enjoyed the tutorial. I've found this set of tools very helpful.
DeleteThe PDF and video are both great. I have been using small templates for my buttons but couldn't figure out how to do bigger ones and get the holes punched in so far. Now I have the MS Screw Punch and in addition to creating your's from the tutorial, I can create some designed for a few other projects of mine. Thanks so much. I am sure many many others will also benefit from this great new tool to make our work more professional.
ReplyDeleteHave always admired your work and inventiveness. You go Girl!
Mayd Marian
Marian, so glad you enjoyed the tutorial! The templates would work great adapted for buttons. Thanks for the encouragement.
DeleteThank you for sharing this awesome tutorial.
ReplyDeleteSo glad you enjoyed this. Sorry for the late reply, these were stuck in moderation for some reason.
Deletewhat a wonderful tutorial and resource. great idea and i love your templates and videos on youtube. please continue to make more tutorials!
ReplyDeleteSo glad you enjoyed. Thanks for watching.
DeleteThank you, this is fabulous! Off to buy some transperancy:)
ReplyDeleteHope this works out for you. Thanks so much for watching.
DeleteThank you so much for these templates. It's good of you to share. I will find them useful for my polymer and zentangle drawing.
ReplyDeletePam, so glad you enjoyed this tool. Thanks for watching and commenting.
DeleteThank you for sharing these great templates!
ReplyDeletethanks so much for sharing this tutorial I have been looking all over for something like these and finally found them here on your blog!!
ReplyDelete