Tuesday, December 30, 2014

Winter Storm Snowflake Polymer Clay Pendant

This week's winter snow storm in Colorado inspired this polymer clay pendant project. Join me in my studio as we make a swirl bead and add snowflake embellishments. I used extruded clay strands applied to a clay base to make my swirl beads. This simple technique is great alternative to using cane slices for those of us who don’t make many canes. Upcoming projects will use this basic technique for more swirl effects. Hope you enjoy this. If you enjoy the video, subscribe to my YouTube channel, give me a thumbs up or leave a comment. I’d love to hear from you. Below the video are the tools and materials used in the project. 
  Tools 
Extruder 
19 hole die 
Clay blade 
Needle tool 
Acrylic or glass block 
Jewelry pliers
  Materials 
Polymer Clay – white and 2 shades of blue 
Pearlescent powder – silver 
Jump ring 
Sandpaper – wet/dry 400 grit 
Sealer – Varathane or other

P.S. I’m always trying to improve my videos. I use Adobe Premier Pro Creative Cloud software to edit my videos and with this one I wanted to keep close to the 5 minute mark. It’s always a learning process and fun. Stuff I learned while making this video:
• How to speed up a clip
• Overlay comments on a clip
• Record audio outside the main video

Friday, December 19, 2014

2015 Polymer Clay Challenge

Starting the new year and thinking about how to be connected and creative.  I've decided to join the KatersAcres 2015 Polymer Clay Challenge to complete one polymer clay project per week.  This is a lot of pressure but certainly motivating.  I'm nervous but committed.  Let me know if you're joining in.  Happy New Year!
2015 Polymer Clay Challenge

Sunday, December 14, 2014

Polymer Clay Faux Knit Mitten Earring Tutorial

Let’s knit with polymer clay!  Join me in my studio as we make a polymer clay knitted “fabric” that we can use to make these cute mitten earrings.  You could also resize the mitten template to make a necklace, bracelet or zipper pull.  

You can find some free, downloadable Christmas templates here.  Copy the mitten template and resize in word processing or image processing software.  You can use any size that works for your project.  I re-sized the mitten template to 1” by .88” which is a good size for earrings.

I hope you enjoy this video tutorial.  If you enjoyed this video, subscribe, give me a thumbs up and leave a comment.  Thanks for joining me in my studio.  See the materials/tools list below the video link.


Materials
Polymer clay colors of your choice.  I’m using red and white Premo!
Paper mitten template
Eye pins – 2 ea
Ear wires – 2 ea
Jump ring – 6mm – 2 ea
Sandpaper – optional

Tools
Pasta Machine
Oven
Extruder with multi-hole disk (disk with 19 holes usually include in the basic set with Makins extruder)
Craft knife
Jewelry pliers – chain nose

Tuesday, November 18, 2014

Super Easy Polymer Clay Christmas Tree Charm

Hi All and welcome to my studio.  Today I’m doing a super easy project to make sweet Christmas tree charms that can be used for earrings, necklaces, bracelets or even a zipper pull for the holidays.  This is also a fun projects to do with the kids (supervision as needed).   Check out the video below for making the charm and a pair of earrings.  For more videos, subscribe to my YouTube Channel, give me a thumbs up or leave me a comment.  Thanks again for joining me in my studio.  Let’s get started (see materials/tools list at the bottom of the post).


Materials (Earrings)
Polymer clay – bits of green with a touch of black to tone it down if preferred, brown, red and yellow – I use Premo! as it is more durable
Embossing powder – chunky, snow type or you could use bits of white clay for the snow
Head pin – 2”, 2 ea
Jump ring – 6mm, 2 ea
Earwire – 2 ea

Tools
Oven
Jewelry making pliers/wire cutter for top loop

Wednesday, November 12, 2014

Polymer Clay Southwestern Enamel Look Bracelet Tutorial

Join me in my studio as we create this southwestern themed polymer clay bracelet embellished with a silver metal button.  We'll use embossing powders to give an enamel effect and add color and texture.  The embossing powder gives the piece a rustic and well-worn look.  This two part video series gives you step by step instructions on how to make this bracelet.  See end of post for materials/tools list.

I like to add metal to my jewelry but not being a metalsmith, I need to find creative ways to get the luster and weight of metal into my designs.  In this piece, I'm using metal buttons easily sourced from fabric stores and on-line.  There are so many styles and finishes that I'm sure you'll find something to add interest to your pieces. Try this technique but be sure to add wire to create an anchor so the button won't fall out.  If the button is a shank style, you may have to cut the shank down with heavy duty wire cutters.  You'll still want to wrap wire around the remaining part of the shank to secure it.

Hope you enjoy.  Leave me a comment and subscribe to my YouTube channel and blog.


Materials
Polymer Clay – ½ pkg each, Premo! Bronze and Burnt Umber
Genesis Thick Medium Extender or Liquid Clay
Embossing powders – your choice of colors
Burnt Umber paint
Metal Button – 3/4” – 1 ea
Wire - 24ga – 1-1/2”
Eyelets – 1/4” – 2 ea
Bracelet finding with clasp to fit – 1 ea
Varathane gloss waterbased polyurethane
Plastic wrap (optional for beveled edge)

Tools
Pasta Machine
Oven
Glass vase or other to make curve in clay
Cutter – teardrop – 3/4”
Cutter - round cutter – 1/4”
Bamboo skewer
Oval cutter or paper template – 2-1/2”
Texture sheet or coarse sandpaper
Paint brushes to apply paint and embossing powder
Pliers – chain nose

Tuesday, November 4, 2014

Polymer Clay Sculpted Bird Earrings Tutorial

Hi All.  Thanks for joining me in my studio.  Today I'm making a cute pair of bird earrings sculpted from polymer clay.  Sculpting these birds is easy and you'll soon be making loads of earrings for gifts or for yourself.  Hope you enjoy.  Leave me a comment, subscribe to my YouTube Channel and share.


Friday, October 31, 2014

Crafty Podcasts

Recently, while sitting in an airport with a friend, I noticed he was intently listening to his iPhone.  When I asked what he was listening to, he explained that he downloads podcasts from NPR and listens to them while traveling.  I usually read a magazine or novel but thought listening to a podcast (kind of like a radio show) could be entertaining and educational.  I found a few craft/art related podcasts that I fell in love with and enjoy listening to while travelling or working in my studio.  I thought you might enjoy listening as well.  There are lots of categories of podcasts out there.  Find a series that interests you and have fun.

 Here are my current favorites.

While She Naps with Abby Glassenberg
From Abby’s site:  While She Naps is a blog about sewing stuffed animals and running a creative business. I’m interested in soft toy design, publishing, the sewing industry, and entrepreneurship for creative

Abby is a soft toy maker who has a website where she sells her toy patterns, blogs on sewing, interviews other artists and does segments on craft business issues.  She does a regular podcast with a wide range of guests related to sewing crafts and the business of crafting.  Although I haven’t sewed for years, I like hearing how others go about living their craft.

Check out her podcasts.

CraftCast with Allison Lee
From Allison’s site:  CRAFTCAST™ was first heard in March, 2006. Since then there have been almost 1 million downloads. Each week, host Alison Lee, talks to a well known artist in their field and gets right down to the how, what and why behind each artists works. Thousands of listeners have written in to share how listening in to Alison's interviews has inspired them and their own work. As Alison says at the end of every show, Get Your Butt in the Chair and Keep Crafting!

Allison not only does podcasts but she hosts live workshops with a variety of artists.  I've taken a number of classes on polymer and metal clay, jewelry making and doll making through CraftCast.  These classes are reasonably priced and archived so you can watch and then re-watch to your heart’s content.  Archived workshops are also available if you missed the live one.  Allison’s free workshops showcasing the tools various artists love is fantastic!

Check out her podcasts.

Balzer Designs with Julie Fei-Fan Balzer
From Julie’s site:  Julie Fei-Fan Balzer is a mixed media painter, collage maker, and avid memory keeper. She is also an author, blogger, TV personality, and teacher.

Julie’s podcast is called “Adventures in Arting”.  She interviews various artists and delves into their art, how they make it, balancing competing demands and the business of crafting.  Julie’s Mother joins her in the podcasts and it’s nice to get two generational perspectives on the issues facing crafters/artists.  She also does a lot of papercrafting as well as other videos.

Check out her podcasts.

Elise Gets Crafty with Elise Blaha Cripe

From Elise’s site:  Introducing, ELISE GETS CRAFTY, my new podcast where I host guests and we chat weekly about blogging, creativity, inspiration, motivation and running a small business.

I’ve just started listening to Elise’s podcasts.  Her talks about blogging and creativity have inspired me.

Check out her podcasts.

CraftSanity with Jennifer Ackerman-Haywood
From Jennifer’s site:  CraftSanity is a website and podcast about all things arts and crafts.

I’m always curious about how others use their creativity and these podcasts cover many aspects of balancing life and crafting.

Check out her podcasts.

Wednesday, October 29, 2014

At Long Last - Rock Purse Tutorial Parts 2 and 3

In May 2011 I posted the first part of what was to be a two part tutorial on how to make a polymer clay rock purse, a decorative purse based on the Japanese inro.  I had intended to post a two part tutorial on YouTube but only got as far as Part 1 when my travel schedule got in the way of finishing the tutorial.

Well, more three years later, I finished two more parts to complete the series.  When I filmed, I had about 28 minutes of video which is way too long so I edited to create two more parts.  Part 2 talks about the design choices the maker considers for how to string and finish the rock purse and Part 3 gives the final finishing options.

I hope you enjoy the videos.  Go on over to YouTube to view and leave comments and subscribe if you are interested in seeing more videos.  Thanks for joining me in my studio.


Monday, September 22, 2014

Tutorial with Videos - Polymer Clay Faux Soutache

Join me in my studio for creating two lovely and fun faux soutache jewelry projects, Simple Beaded Earrings and the Victoriana Pendant, using my new tutorial.  This tutorial includes 11 video guides.  See it at my Etsy shop.  Click the Etsy badge to see this tutorial.


Soutache jewelry is one of the hottest trends in jewelry making.  As a polymer clay artist it was a natural step to re-imagine traditional soutache through the versatile medium of polymer clay.  Like traditional soutache jewelry, any color combination, beading and other embellishments can be added to make the ultimate design possibilities limited only by the imagination of the artist.

This original tutorial contains two projects meant to provide the polymer clay artists with tips and techniques for creating their own faux soutache jewelry.  The first project, Simple Beaded Earrings, demonstrate techniques such as adding beads, strengthening the piece, backing and finishing.  Building on the key concepts in the Simple Beaded Earrings, the Victoriana Pendant goes several steps further to provide detailed instructions such as adding dimensional ribbons, leaves, clay beads, pearl beads and adding subtle color.  These techniques lend themselves to being used for many adaptations limited only by the artist’s imagination.

The projects contain 37 pages of instructions, 100 detailed photographs and 11 video guides with over 50 minutes of step by step video instructions.  There’s even one blooper guide demonstrating what happens when clay is not properly conditioned. 

Detailed tool and material lists are provided and I’ve added a cross-reference guide, referencing each photograph or figure to the corresponding video guide.
 
The techniques in this tutorial do not require advanced skills, however, basic knowledge of polymer clay techniques such as conditioning clay and using an extruder are assumed.  Basic jewelry making skills such as opening and closing jump rings are also used in the tutorial.  Don’t be intimidated if you’ve never made jewelry, this tutorial will walk you through the steps. 

The tools and materials used were readily available in my local craft stores in the United States.  To make it more convenient for you, I’ve included web-based resources in the Resource Guide.  With the exception of an extruder with the appropriate dies, you may be able to use the tools you already have in your craft stash.

You will be downloading 2 PDF files with access to my Vimeo Faux Soutache Portfolio.  The access link and passcode are on the first page of each of the PDF documents.  The link to the files to download will be emailed to you by Etsy once your payment is completed.  

Hope you enjoy.

Saturday, August 30, 2014

More Silkscreen on Polymer Clay

The Colorado Mile High Polymer Clay Guild's Tina Gugeler gave a class in making your own silk screens from photo emulsion sheets.  How fun to create your own designs and turn them into unique screens.   Here's my screen and the sample shapes that will transform into earrings or pins. 


Tuesday, August 12, 2014

Organizing your Projects

This last weekend I found this cool storage box that is really for photos but I'm using it to keep my in progress jewelry projects organized.  The plastic box holds 6 individual mini boxes that I can keep my smaller jewelry projects that I'm working on neat and and organized.  The boxes are large enough for some clay, tools, beads and cards for notes.  Got this neat addition to my studio from JoAnn since they were having a 50% of storage sale.  Works great.


Monday, August 11, 2014

Polymer Clay Silk Screen Necklace

Here's the necklace I created using the silk screened polymer clay from my demo in the last post.  I used scrapbooking elements including brads to lock the pieces together and eyelets to finish the holes where the chain joins the necklace.  The brads allows for the pieces to move so the main circles can be re-positioned. This would look nice with a white button down, peeking out of the collar.


Thursday, August 7, 2014

Product Demo - Sculpey Clay Silk Screen Kit

I've been wanting to try silk screening for quite a while.  At one of my recent guild meetings, the new Sculpey products were demonstrted.  I couldn't wait to try the Clay Silk Screen Kit so ran out to my local craft store and picked one up.  I hadn't ever tried silk screening and was thrilled with the results.  I did a video demo below that I hope you enjoy.  Leave me a comment and tell me how you like the demo and whether you've tried silk screening.

Sunday, July 27, 2014

Mini Travel Art Kit

When traveling, which I do often for business, I take a mini art kit with me.  While I don't usually have tools, having some 3X5 cards and colored pencils allows me to do design work and capture inspiration when it hits.  The cards and pencils make up the mini art kit and is easy to carry.  The bit of color from the colored pencils makes the designs come to life and allow for color planning.  When I get back to the studio I add the designs to my inspiration board and start prototyping.  The inspiration board ends up being a design journal as I can see how I've been inspired over time.

P.S. These pictures were all taken with my iPhone.  My first attempt at using the iPhone and editing software.  I know, I know, behind the times.  LOL

Tuesday, June 24, 2014

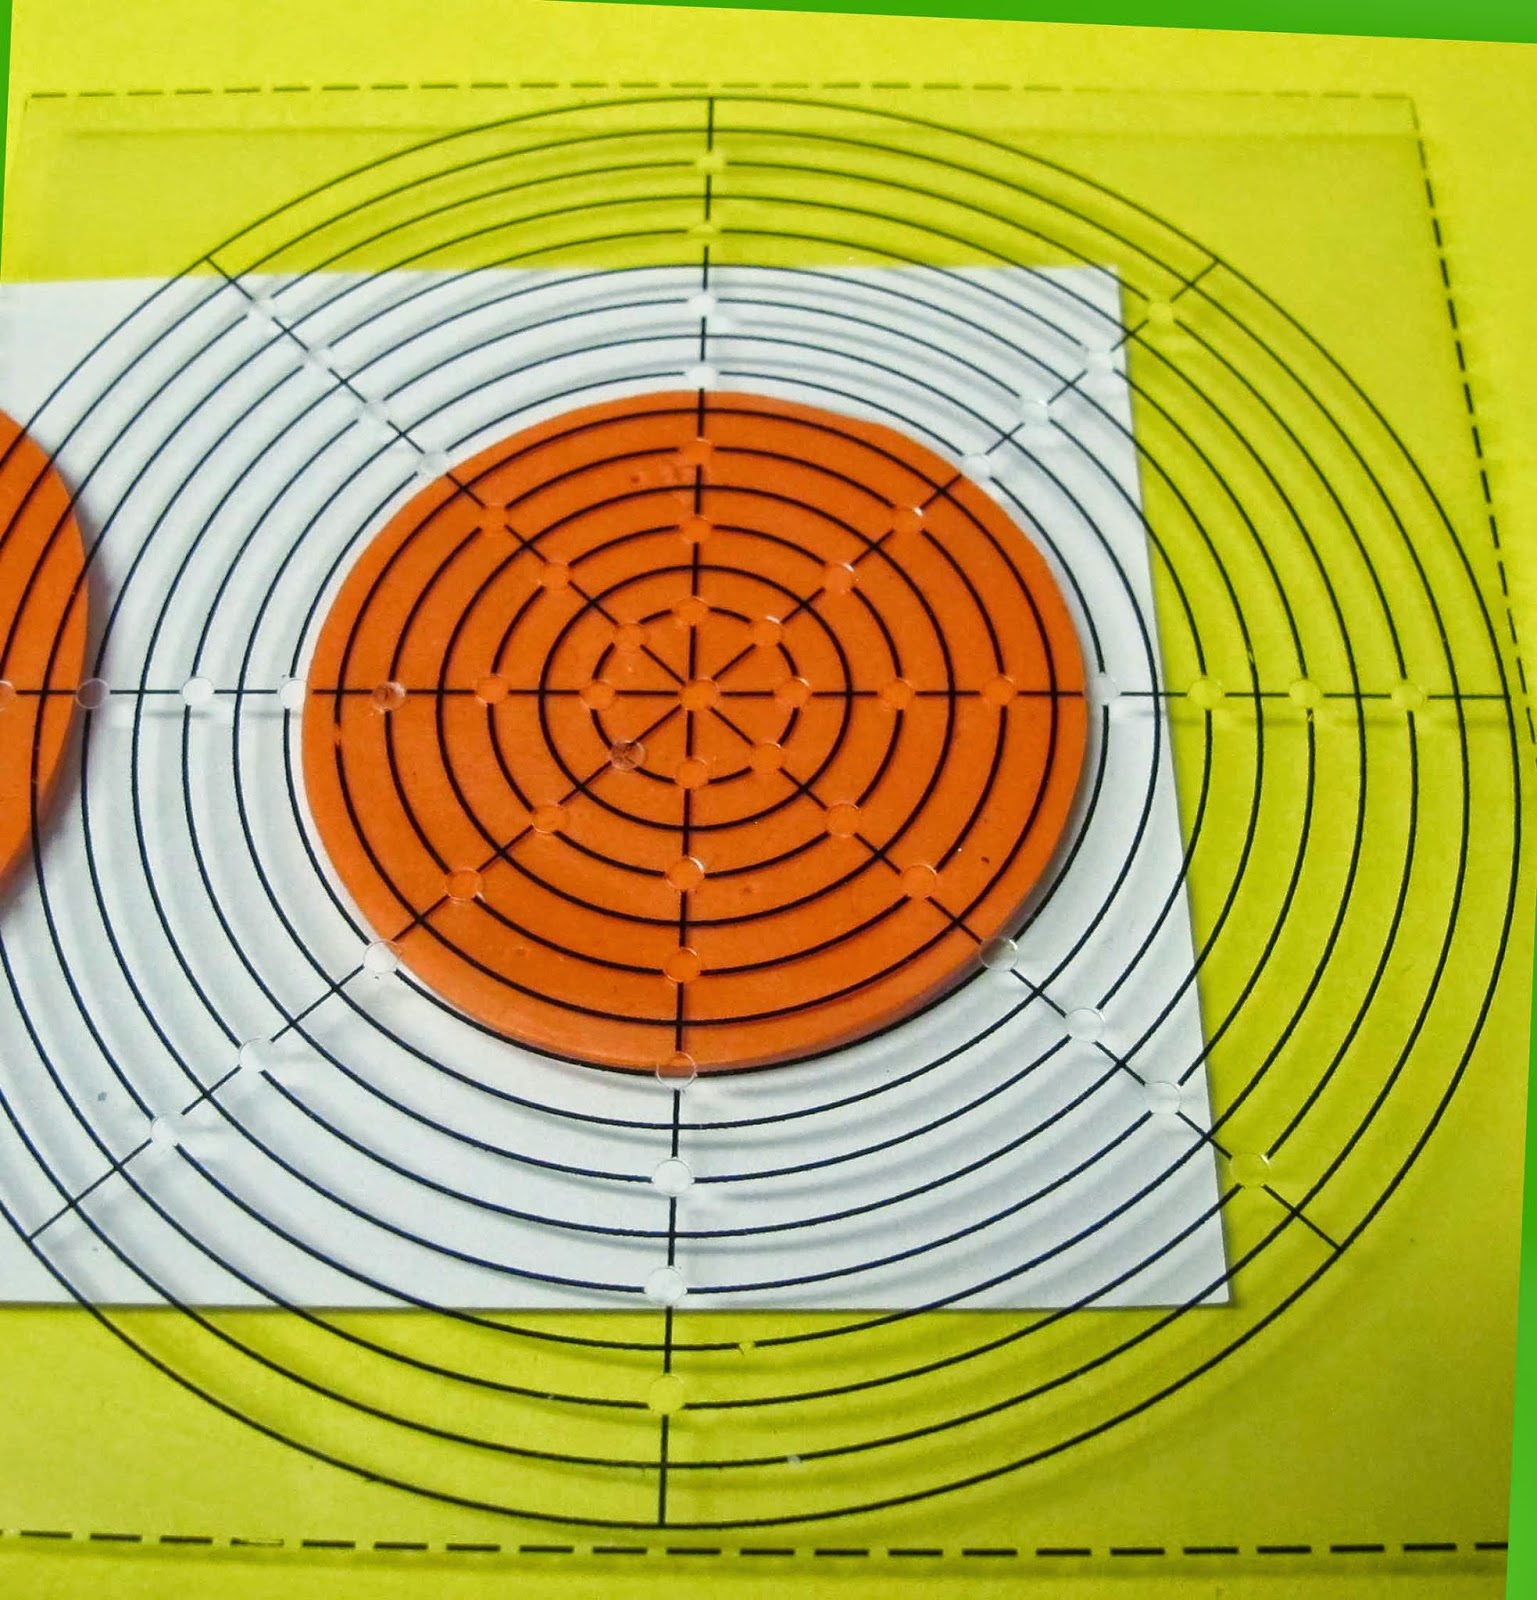
Make Your Own Marking and Center Finder Tool - FreeTutorial

Welcome to my blog.  I've been designing jewelry that requires precise placement of embellishments or design elements and I was generally just eyeballing the placement.  I found that my placement was a bit wonky and I was somewhat disappointed in the final product because the placement of design elements was just simply off.

I went searching for a marking template that I could use to find the center of a shape and then allow equidistant marking around the shape.  Couldn't find anything that met my needs so I decided to make my own marking and center finder templates.  I thought you all might have a similar need.  I'm making this free test tutorial available for a limited time.  Here's a video and .pdf tutorial with instructions on how to make marking and center finder templates for a circle, oval, rectangle and square.  There are two overall sizes of templates - 4" and 3.5".  Each template has a 1/8" and 1/4" guide lines.  Choose the one that works for you and voila! a set of templates that you can use over and over.

Check out the video and download the .pdf  Jewelry Shape Marking and Center Finder (follow the link, click "File", then click "Download" and save the file to your computer) free tutorial available with a complete set of instructions, templates and resource list.  Leave me a comment and tell me how you liked this test tutorial.  Hope you enjoy.